Monday, April 29, 2013

Smoked Brisket!!!!!!!!!!

Making this brisket was incredibly fun for me. It combined several of my favorite types of cooking: cooking an enormous piece of meat, cooking with exciting equipment, and cooking for a group of appreciative happy people. We made a total of 32 pounds of brisket to celebrate my wonderful and sweet brother-in-law's 27th birthday. We had people over for a backyard BBQ and the meat ALL got eaten. Any crowd that gets so excited for bbq is good people.
Also: it came out so, so good. People were slicing off chunks and eating them plain with their fingers. Absolutely fantastic. The whole night made me feel like it was already summer (different story this morning at 6, when I had to struggle my butt to work).
First I had to go shopping for gigantic meats. I had seen full briskets in the grocery before and stroked them kind of wishfully, thinking of how fun it would be to cook something so huge. But then my logical mind would say: that is way too much meat, even for you. So I would walk away and find something less awesome to cook. I have been wanting to make one of these for a long time.
But then I couldn't find any! All the stores just had smaller pieces of brisket. I went to 4 stores and finally found these at a King Soopers nearly in Aurora.
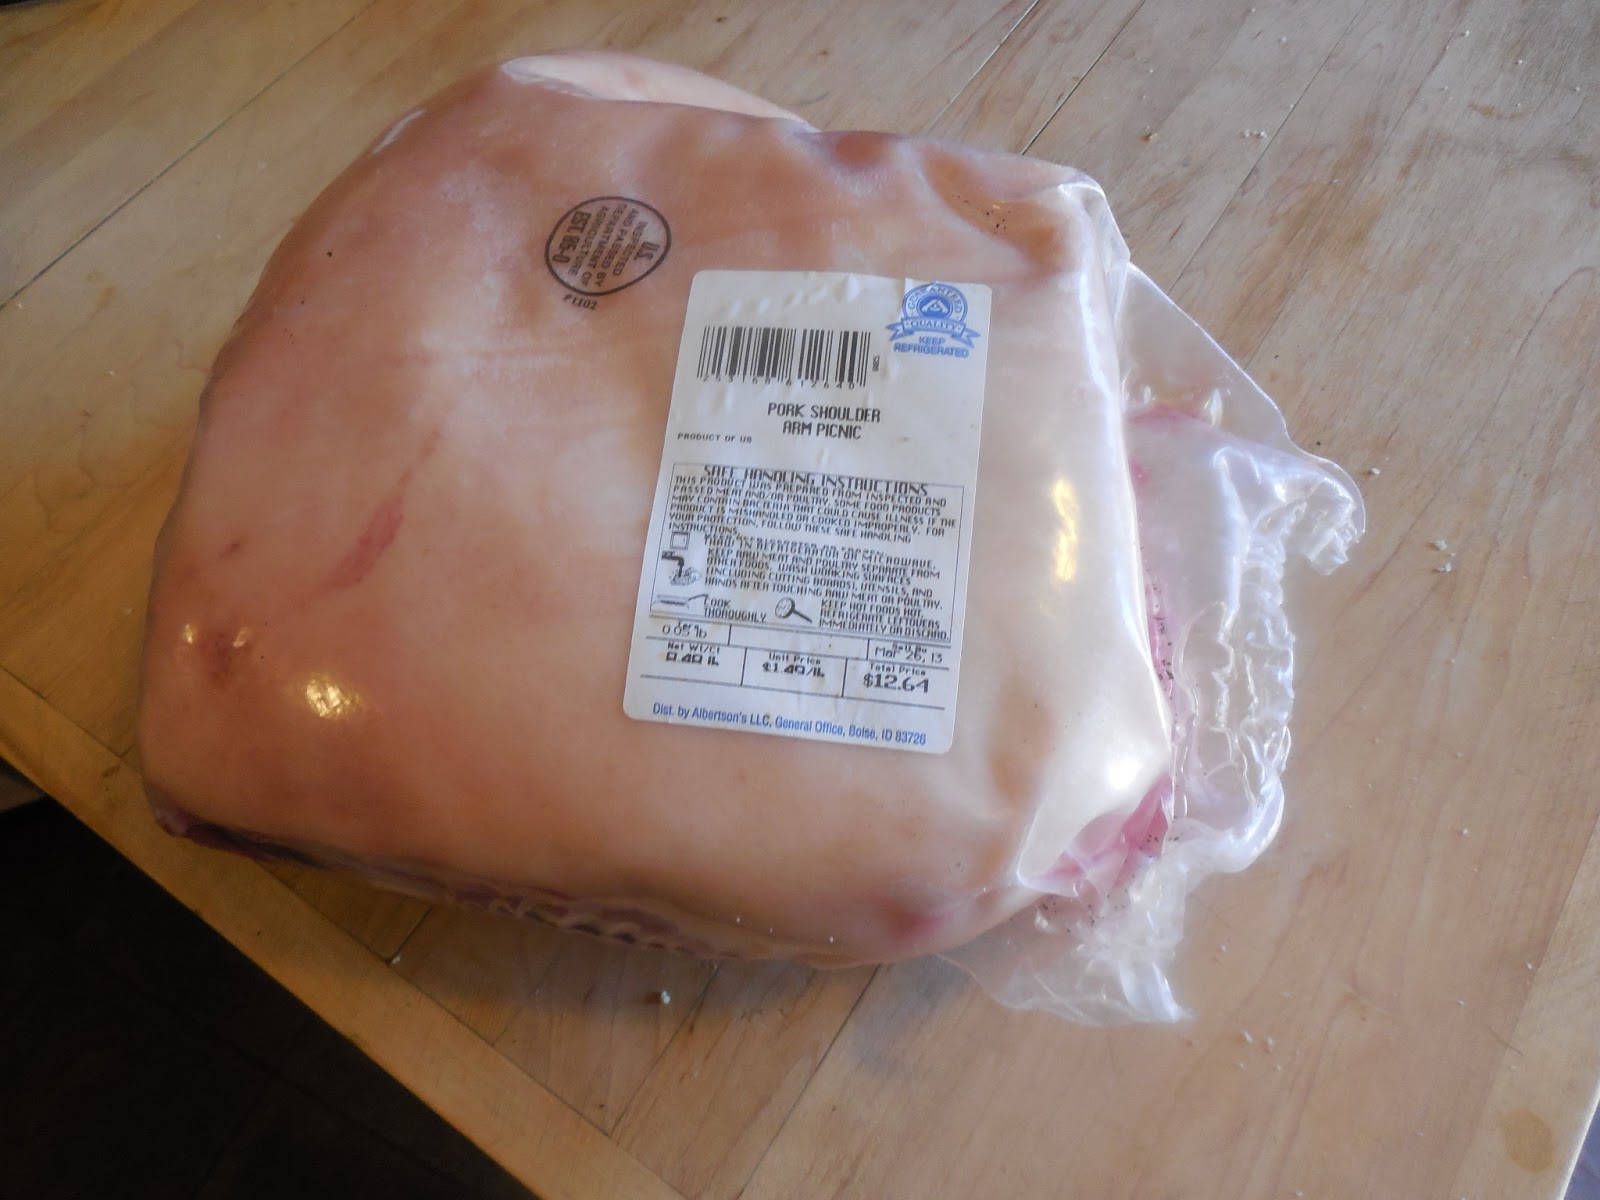
How big were these meats?
Bigger than a Chihuahua!
These were 16lbs each, so they had to be cut in half in order to fit in the smoker. Look at that fat distribution! That's why they came out so juicy.

We got this smoker last summer. We have been experimenting with it and some things have been more successful than others. This was by far the best thing we've made with it yet.
A smoker going in the backyard on a Sunday means life is good.
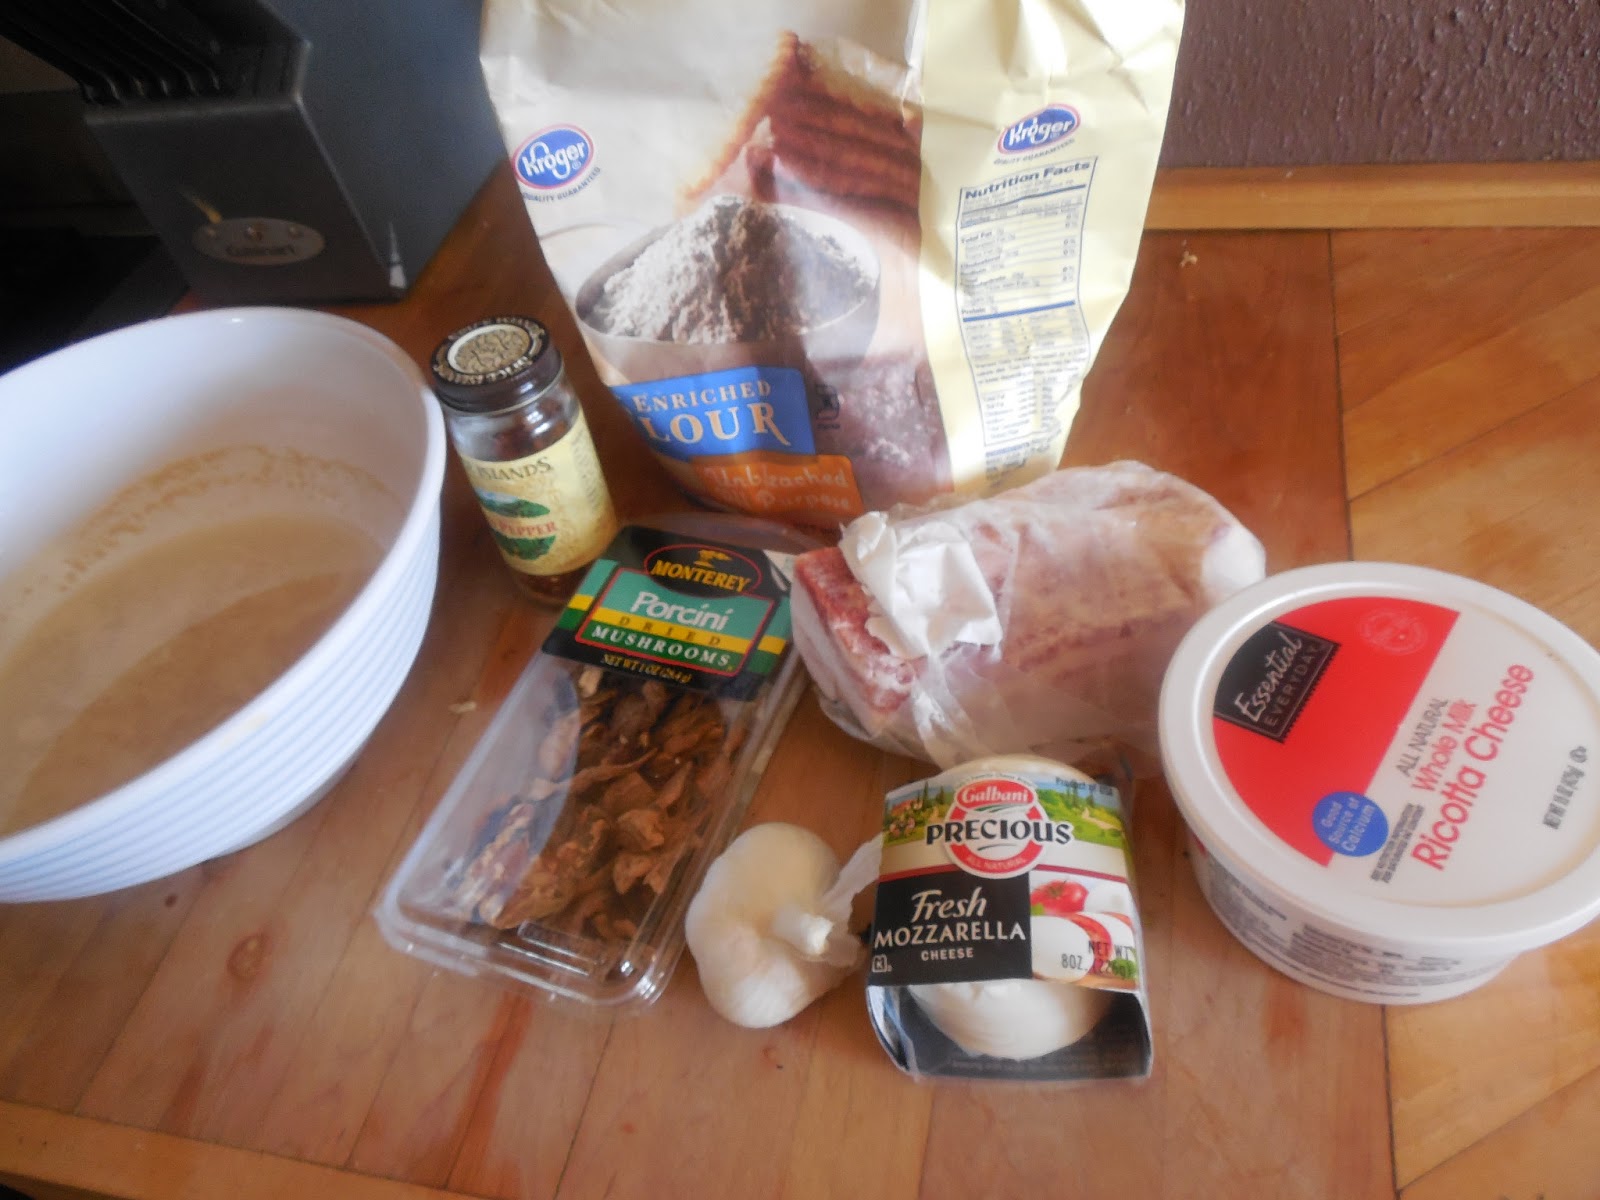
The Recipe

Ingredients
Enormous brisket(s). I used two 16 lb briskets. These come whole in a plastic wrap.
1.5 cup brown sugar
1/2 cup table salt
1/4 cup garlic powder
1/4 cup chile powder
1/4 cup onion powder
2 TB mustard powder
2 TB cayenne

What to do
Make the rub by combining salt, sugar and spices.

Rub the brisket all over with the rub. Get as much to stick on as you can. Let the briskets sit with the rub on for a few hours or overnight.
Then, put it in the smoker for hours. 12 hours would be best. You want the smoker to stay between 200 and 250. I use three wood chips--try to space them far from the heating coils so they don't catch and flame.
We checked it every half hour or so--if it got too hot we unplugged it. This is a great excuse to sit in your backyard all day drinking beer.
One of the briskets smoking. The thick end is on top. My theory was that the fattier piece would drip down onto the leaner piece and keep it juicy. 
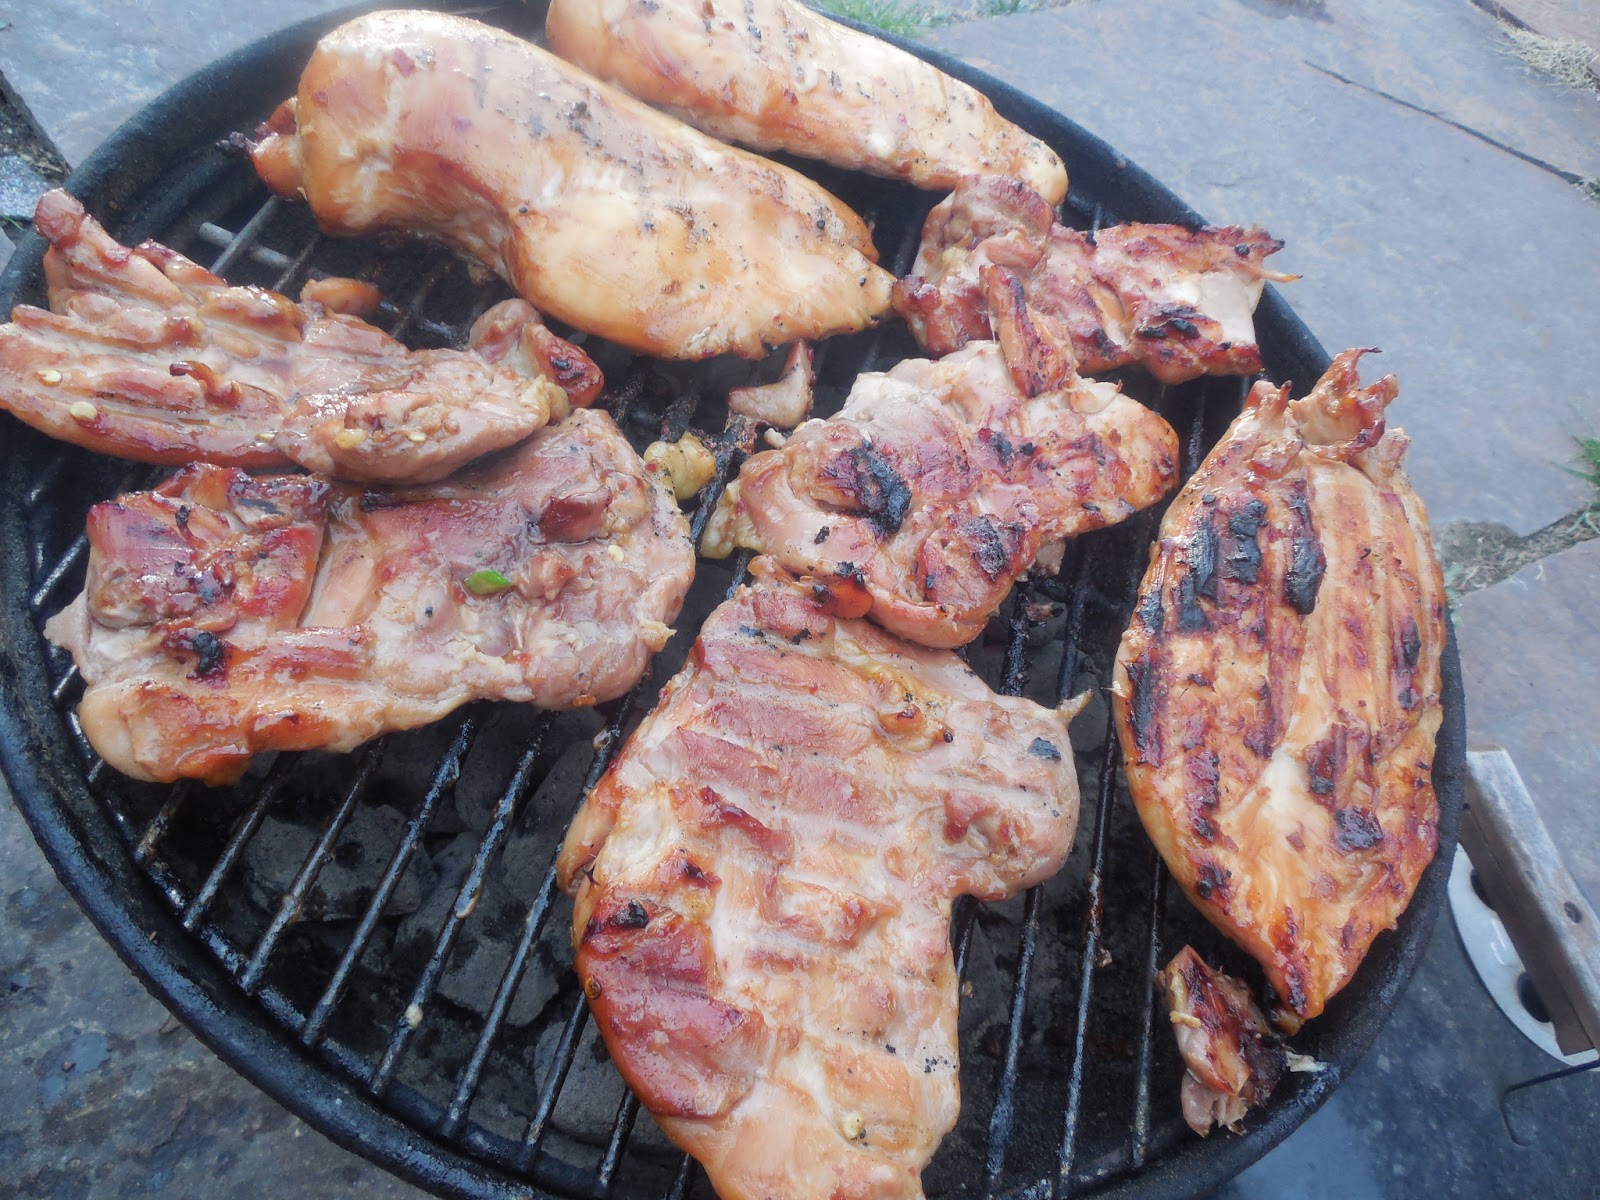
After all those hours of smoking, turn your oven all the way up and blast it for about 10 to 15 minutes to get a nice char on the outside. This might set off your smoke alarm or cause grease fires--both happened to me.
Finished brisket. 

This was a fantastic night in the backyard--great food, excellent company, all dogs stayed out of the pond, and we killed a whole batch of homebrew (rye pale ale).
Looking forward to a summer of smoked meat and yard games!


Saturday, April 27, 2013

Buttermilk Corn Waffles


Today was the perfect lazy Saturday. We slept till 10:30, watched Blood Diamond and drank coffee. We didn't have much in the way of breakfast food in the house. But we DID have cornmeal, flour, and a carton of buttermilk left over from when I made biscuits. Buttermilk corn waffles! I had made these before for a chicken-and-waffles party: they're great, way better than regular no-corn waffles.
All this stuff was already in the house!


Adam has only once in his life requested an item of cooking equipment: an industrial waffle iron. It's huge and heavy. You usually only see these in the dining hall at college or camp. But we have one in our house. 

Buttermilk Corn Waffles 

Ingredients: 
1 1/4 cups flour
3/4 cup cornmeal
2 TB sugar
1 TB baking powder
1 tsp salt
1 3/4 cups buttermilk
3 TB water 
2 TB vegetable oil (light olive or canola) 
2 large eggs
What to do: 
1. Mix all the ingredients in a bowl.  
2. Pour into a greased waffle iron and cook. 
3. Top with whatever you want and enjoy! 


Don't overfill the waffle iron or it will poop out the sides like this.


Yum. 

Friday, April 26, 2013

Flat bread with mushrooms, bacon, cheese, and balsamic reduction

Hello, lovely.
I had a fantastic surprise this morning when I arrived at work: it was Teacher Appreciation day, so our usual meeting was canceled. Given our abbreviated Wednesday schedule and the fact that last period is my planning, I was done at 11:35! It was that snow day emotion--unexpectedly not having to work! One of the best feelings there is.
So, having some free time, I of course felt like cooking. There wasn't much in our fridge--but I found ricotta and mozzarella (originally intended for raviolis I never made) and some dried porchinis (no idea why I originally bought these). And I always have garlic, yeast, and flour. So, flat bread! Flat bread has become my "whatever's in the fridge" go-to creation. It's great to have around for snacking, and it's fun to make.
Some of the ingredients. Not pictured: balsamic, olive oil

Ingredients

For flat bread dough:
1 1/2 cups warm water
1 (1/4-ounce) packet active dry yeast
1 TB sugar
4 to 5 cups all-purpose flour
1tsp salt
2 TB olive oil

Toppings: 
1 package dried porcini mushrooms 
7 strips bacon, diced
3/4 cup ricotta 
1/2 cup mozzarella 
4 cloves garlic, chopped
red pepper flakes 
1/2 cup balsamic vinegar

What to do: 
1. Dissolve the sugar in the warm water and add the yeast. Let it sit for 15 minutes. This wakes the yeast up and gets them horny and hungry. 
2. Add the flour. Mix and knead into a pliant, cohesive ball. You may need to add more water or flour. 
Dough before rising
3. Allow the dough to rise. Cover with a damp paper towel and set somewhere warm. It should about double in size. This will probably take around an hour. 
After rising
5. Boil some water. Add the dried mushrooms to the water and allow to sit in the hot water with the burner off.
4. When the dough is risen, knead it a few more times, then stretch/ spread it into a large oval and put on an oiled rectangular cookie sheet. Push into all the sides and attempt to get it uniformly thick.
6. Spread the cup of ricotta over the flat dough. Then, leave this to rise again while you make the toppings. 
Dough spread with ricotta.
7. Crisp the bacon. Sprinkle the crisp bacon over the dough. 
8.  Mince the garlic and sprinkle it evenly over the top.
9. Take the mushrooms out of the water and lightly squeeze them out. Toss them into the bacon grease and cook for about a minute on high. Then, scoop them out with a slotted spoon and spread them out over the dough. 
10. Sprinkle with red pepper flakes (up to you how much to use). 
11. Dot all over with little chunks of mozzarella. 
12. Bake at 450 for about 35 or 40 min, or until golden brown. 
13. While the flat bread is cooling, pour the balsamic into a small saucepan and add about a tablespoon of sugar. Simmer to reduce into a syrup that coats the back of a spoon. When thick, dribble this over the flat bread. 
14. It's done! Slice and eat.
Were I to make this again, I would omit the reconstituted mushrooms. Their earthiness clashed a bit with the salt-sweet-garlic-cheese of the other flavors.  Would have been better without them. Alas! Now I know.
Enjoy!

Tuesday, April 23, 2013

Shrimp Dumplings with Ginger-Scallion-Garlic Sauce

These were not intended to be fried--but turned out fabulously nonetheless.
So I set out to find something to do with a two bags of frozen shrimp. We had about half a bag in our freezer, left over from when I made gumbo to celebrate the season finale of The Bachelor. Then this weekend, we went up to the ski house for the last time, and I discovered a bag of frozen shrimp from November, when I thought I was going to make etoufee at the ski house--which I never did.
Also, lurking in the fridge: wan ton wrappers. Wantonly languishing, wanton wrappers. So then I was like: what can you make with shrimp and wanton wrappers? Think, think: SHRIMP DUMPLINGS!!!!
Shrimp dumpling ingredients!
There were two labor-intensive parts: peeling the shrimp and forming the dumplings. Other than that, it was pretty easy.
These tasted awesome, just like dim sum. But the real winner was the ginger-scallion sauce: it was great. It would be the perfect sauce for noodles, stir-fry or any kind of meat or veggies. 

Shrimp Dumplings: 

Ingredients: 
2 pounds peeled, de-veined shrimp: chop finely 
1 can of water chestnuts (small can), finely chopped
2 bunches of scallions, finely chopped
1 TB sesame oil
1 TB chili paste or Sriracha
2 inch fat piece of ginger, chopped
1 TB soy sauce
1 egg white
1 TB brown sugar
12-15 wanton wrappers. 

What to do: 
1. Mix the shrimp, chopped water chestnuts, scallions, soy sauce, sugar, egg white, ginger and sesame oil in a bowl. 
Half-chopped shrimp

Half-chopped scallions on a still-shrimpy cutting board. 
All the ingredients, prior to mixing.
2. Mix all the ingredients up (except for the wanton wrappers)!
Raw shrimpy filling goodness
3.  Here is how you fill them: get a wonton wrapper and lay it flat. Scoop a few tablespoons on the filling into the middle. Brush the sides of the wanton wrapper with water, then pinch the sides together, forming a dealed package. Set each completed dumpling aside.
My dumpling factory
Edges brushed with water. !
Pinch all the sides firmly together


Pinch the edges into ruffles
4. Either steam or fry.

Originally, I had been planning to steam these. But we didn't end up cooking these until the day after I made them--as they sat raw in the fridge, the wet filling got the wrappers all soggy, and little tears formed in the wantons as I took them off the tray. I figured frying them would be better in this situation--filling wouldn't spill out and they wouldn't get soggy.


Ginger-Scallion-Garlic Dipping Sauce

Ingredients
1 3-inch piece of ginger, minced or grated 
2 fat garlic cloves, minced or grated 
1/3 cup soy sauce
1/3 cup rice vinegar
1/4 cup neutral oil, like canola or a light olive oil
3 TB sesame oil 
2 TB cold water
2 TB brown sugar
1 bunch scallions, sliced thin
Spicy element to taste (I used about a teaspoon of red pepper flakes. Sriracha or cayenne pepper would work well here too, or some minced jalapenos) 

What to do: 
Put all the ingredients into a container with a tight lid. Shake till emulsified! 
Pour onto dumplings or serve on the side as a dip.

Looking at this recipe, it seems like a lot of ingredients--but really it's pretty easy, Other than the scallions and ginger, I had all of these ingredients on hand before I went shopping.
Again, this sauce is GREAT. It would be amazing dripped over steamed green beans, plain chicken, anything. You must make it!

Saucy dumpling goodness
 Enjoy!

Sunday, April 21, 2013

Chile-soy grilled chicken with PEANUT SAUCE!

Grilled chicken on rice, covered in peanut sauce. Pepper and pea stir fry.
I would eat peanut sauce on anything--veggies, meat, a spoon, my fingers. I LOVE it. It's one of those things I'm very judge-y about in restaurants--whenever I order satay I think the peanut sauce is too sweet, or not spicy enough, or needs lime. Mine is better. Then I eat it anyway. Less than ideal peanut sauce is still fabulous. 
Speaking of peanut sauce, the first time I saw someone make it at home was right after I moved to Denver. I was living in a shitty apartment on Colorado Blvd and was about to start my new job at DSST. My sister and Michelle came over to make a dinner party at my house, even though I had no furniture and only a couple of pots (and one knife I got from the Goodwill--we had to share). 
Me  in 2008, recently arrived from Nicaragua. Dinner party in world's worst apartment!
We are eating salad out of coffee mugs because I had zero kitchen supplies back then.
At this party, Michelle made peanut sauce and little fried tofu triangles, Bridget made Asian crunch salad (it includes smashed ramen and is the shit), and I made curry. The peanut sauce was the best part. We all ended up putting it on all the other parts of the meal.
So after that, I experimented with making peanut sauce from scratch and now, I must say, it comes out fabulous every time. 
I made a batch of peanut sauce to go with some grilled chicken and stir-fried veggies. It was Sunday night, and I wanted to make something that would do well as lunches all week. 
This turned out GREAT. I've had mixed results in the past with grilling chicken, but this chicken turned out fantastic--juicy and flavorful. The peanut sauce was perfect, and I made some quick stir-fried veggies to go with. Delightful. 

Peanut Sauce 

Ingredients: 
1 can of coconut milk 
3/4 cup peanut butter (any kind is fine) 
1/4 cup roasted peanuts, lightly salted (don't use dry-roasted) 
Juice of 4 limes 
1 TB chili-garlic sauce (or Sriracha) 
1 TB Thai fish sauce 
2-inch piece of ginger
1 TB brown sugar 
2 TB soy sauce 

What to do: 
1. Put all of the ingredients into the blender and blitz them smooth. 
2. Pour the contents into a saucepan. Bring to a boil, stirring regularly, then simmer for 8 or 10 minutes. Taste: does it need salt? Sugar? Lime? Add a pinch of this or that till it tastes perfect.
3. Pour on whatever!!! 

Sauce in the blender
Simmering

Chili-soy Grilled Chicken 

Ingredients
3-4 pounds (or however much you want) boneless, skinless chicken fillets--either breast or thigh (thigh will taste better) 
2/3 cup soy sauce 
3 TB chili-garlic sauce or Sriracha 
3 TB brown sugar 

What to do: 
1. Mix the soy sauce, chili sauce and sugar in a bowl. 
2. Place chicken in the bowl of marinate. Allow to sit for at least an hour
3. Grill the chicken! I used a charcoal grill, very hot, about 10 min per side. Brush chicken with leftover marinate as it grills
4. Allow to rest about 10 minutes, then dribble with peanut sauce. Serve over rice. 

Marinating chicken. I used both thighs and breasts.
Chicken grilling on our teeny hibachi.
Gorgeous spring night in the backyard.
To go with the chicken, sauce and rice, I made a stir-fry of carrots, red bell peppers, and sugar-snap peas. 
Delicious.
I think this same marinade would work great for pork chops or flank steak. 
Enjoy!

Monday, April 15, 2013

Glorious Glazed Pork Shoulder


I realize that the picture of this incredible roast looks awful--a charred and melted black monster. But--this was absolutely, utterly FABULOUS despite being ugly.  Spoon-tender roasted salty-sweet pork under a thick, crisp bark of crackling skin. I cooked this long and low and slow--from about 10 am till 5pm. For most of that time, I wasn't home--I just left it in the oven. The results of this are FANTASTIC. This would be an excellent dish for a dinner party--but I just made it for the two of us. A week of great eating lies ahead.
I bought this roast a few weeks ago--it was a happy accident. You almost never see pork shoulder for sale with the skin still on. I asked once at Oliver's, and they said you could order them ahead of time, but it wasn't something they normally did. Then, one magical day, there I am in the shitty Albertsons meat section on Alameda and BAM--what do I see but skin-on pork shoulders! I bought two and stashed them in the freezer until I had time to do them up right.
A rare find!
The ingredients---pork, apple cider vinegar, fennel seeds, brown sugar.
Ingredients: 
1 Tablespoon fennel seeds, crushed or chopped
3 TB cup kosher salt 
1/2 cup sugar 
1 7–8-lb bone-in pork shoulder (Boston butt or picnic. If you can find it with skin, use that--if not, skinless is fine. 
1/2cup apple cider vinegar 
1/2 cup (packed) light brown sugar
What to do: 
1. Crush or chop the fennel seeds and mix them with the brown sugar and salt. 
 2. Put this rub all over the pork. Rub it IN. Get your salty sugary fingers into all the fatty, meaty pink folds of that beautiful pig meat. Massage it in. If it has skin, score it in crosshatches. Cut into the fat, past the skin, but not all the way down to the meat.
3. Put it in the oven at 280 and leave it for no less than 7 hours. Use a covered dutch oven or roasting pan.
Many hours later....
4.  Take the meat out and place it on a sheet pan or in a shallow dish for broiling. Crank the oven up to 525.
5. There will be liquid left in the pan. Skim out some fat (according to taste). I took about a cup and a half of fat out of mine. Add the cider vinegar to the pan and start boiling to reduce. At this point, you might want to add some more sugar and salt. I ended up putting a few more tablespoons of brown sugar and a pinch of salt in. Boil down into a thin syrup.
The glaze, reducing.
6. While the glaze is reducing, the pork should be back in the oven on high, getting crispy. Brush with the glaze (even in it's mid-reduction form) at 4 min intervals. You want the skin very crispy and very brown.
7. Pour the glaze all over the top. The pork can be easily pulled off in chunks.
Serve with herb bean salad and pickled red onions. Or anything you want.
This was AWESOME. We smashed our roast down and had it pulled-pork style. The skin was BOMB.
TO DIE. Make this at once and apologize to no one!